HiBob Automation Setup Guide
This guide assumes you have already communicated with Brilliant to request a HiBob automation for your account.
Before integrating your HiBob account with Brilliant, you must first set up your HiBob instance to expose specific data to Brilliant. After you set up HiBob, you can connect your HiBob account to Brilliant to enable the integration.
HiBob Setup
In order for Brilliant Automations to connect to your HiBob instance, we recommend creating an API Service User with limited access to the specific fields we need in your automation.
Follow HiBob’s instructions here to create a special security group and user in your HiBob instance.
When the service user is created HiBob will display the service user ID and token. Take note of the service user ID and token, as it will be used when you connect the automation to your account.
The API Service User will need view access to the following People data categories:
Basic info
Work
Employment
Personal contact details (required only if you plan on sending gift emails to employees' personal emails)
The API Service User will need view permissions to the following People Data categories for birthday automations only:
Personal
Connect Brilliant
After you have followed the steps above to setup your HiBob instance, you are ready to integrate with Brilliant by following the steps below:
Login to Brilliant using your email address and password.
On the lefthand side of the page, navigate to the Automations page of the store you wish to connect the automation to via Storefront -> Your Store to Connect -> Automations.
Find the HiBob automation you requested from Brilliant and click Connect. From here, you will be brought to a new tab.
In the authentication screen:
For Brilliant, the account will be added for you.
For HiBob, you will need the service user id and token obtained from the HiBob setup above. Enter the service user id in the username field and the token in the password field.
Click Next to configure the automation.
Preferred Gift Configuration
For the automation, you will need to fill out the following fields on the Preferred Gift Configuration screen:
Preferred Gift Campaign: This is the Preferred Gift Campaign you want to add new hires or birthday-eligible employees to. This field is for new hires or birthday only and will not appear for anniversaries.
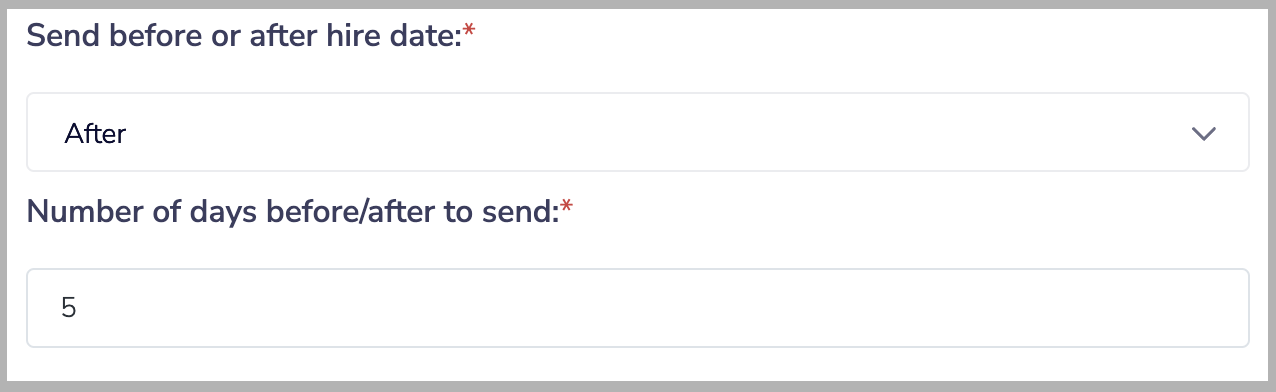
Send before or after hire date: If you would like to send gifts a specified number of days before or after their hire, anniversary or birth date rather than exactly on that date, the automation can be configured to do so. This setting determines if the Preferred Gift will be sent before or after an employee's hire, anniversary or birth date. If you want to send the Preferred Gift on their exact hire, anniversary or birth date, you can choose either of these options.
Number of days before/after to send: If you chose to send the Preferred Gift before an employee's hire, anniversary or birth date date, this setting determines how many days before that date the Preferred Gift will be sent. If you chose to send the gift after their hire, anniversary or birth date, this determines how many days after. If you want to send the gift the day an employee is hired, the day of their anniversary or on their birthday, you can leave this setting at 0. For example, if you wanted to send a Preferred Gift to new hires 5 days after their start date, the end result for these settings would look like this:
Hour of day (CST) to send: The hour of the day in CST the automation will call the HiBob API and send gifts.
Send gifts to which of the following employee types? This field has three checkboxes listed below. Please check each employee type that you want to send gifts to:
Full-Time
Part-Time
Interns
Contractors