ADP
This guide assumes you have already communicated with Brilliant to set up an ADP automation for your account.
API Scope Check
The scope of your API availability in ADP is determined by the exact ADP product subscription your company uses. In order to ensure a successful integration Brilliant needs to confirm your scope.
From ADP's interactive API page, filter by your specific product.
Ensure that the HR Workers Category is included for your product
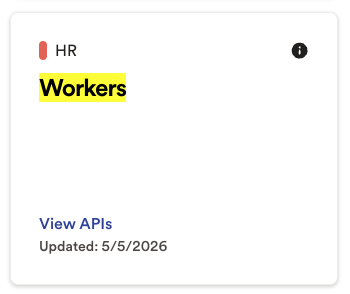
If HR Workers is not an included category please reach out to Brilliant. We may be able to use another category you have access to.
Set up with API Central
ADP Credentials
In order to connect with Brilliant we will need the following information:
Client ID
Client Secret
Certificate (PEM)
Key
Follow the below steps to generate the needed information and copy it to a secure location as you will need to enter it when connecting to Brilliant.
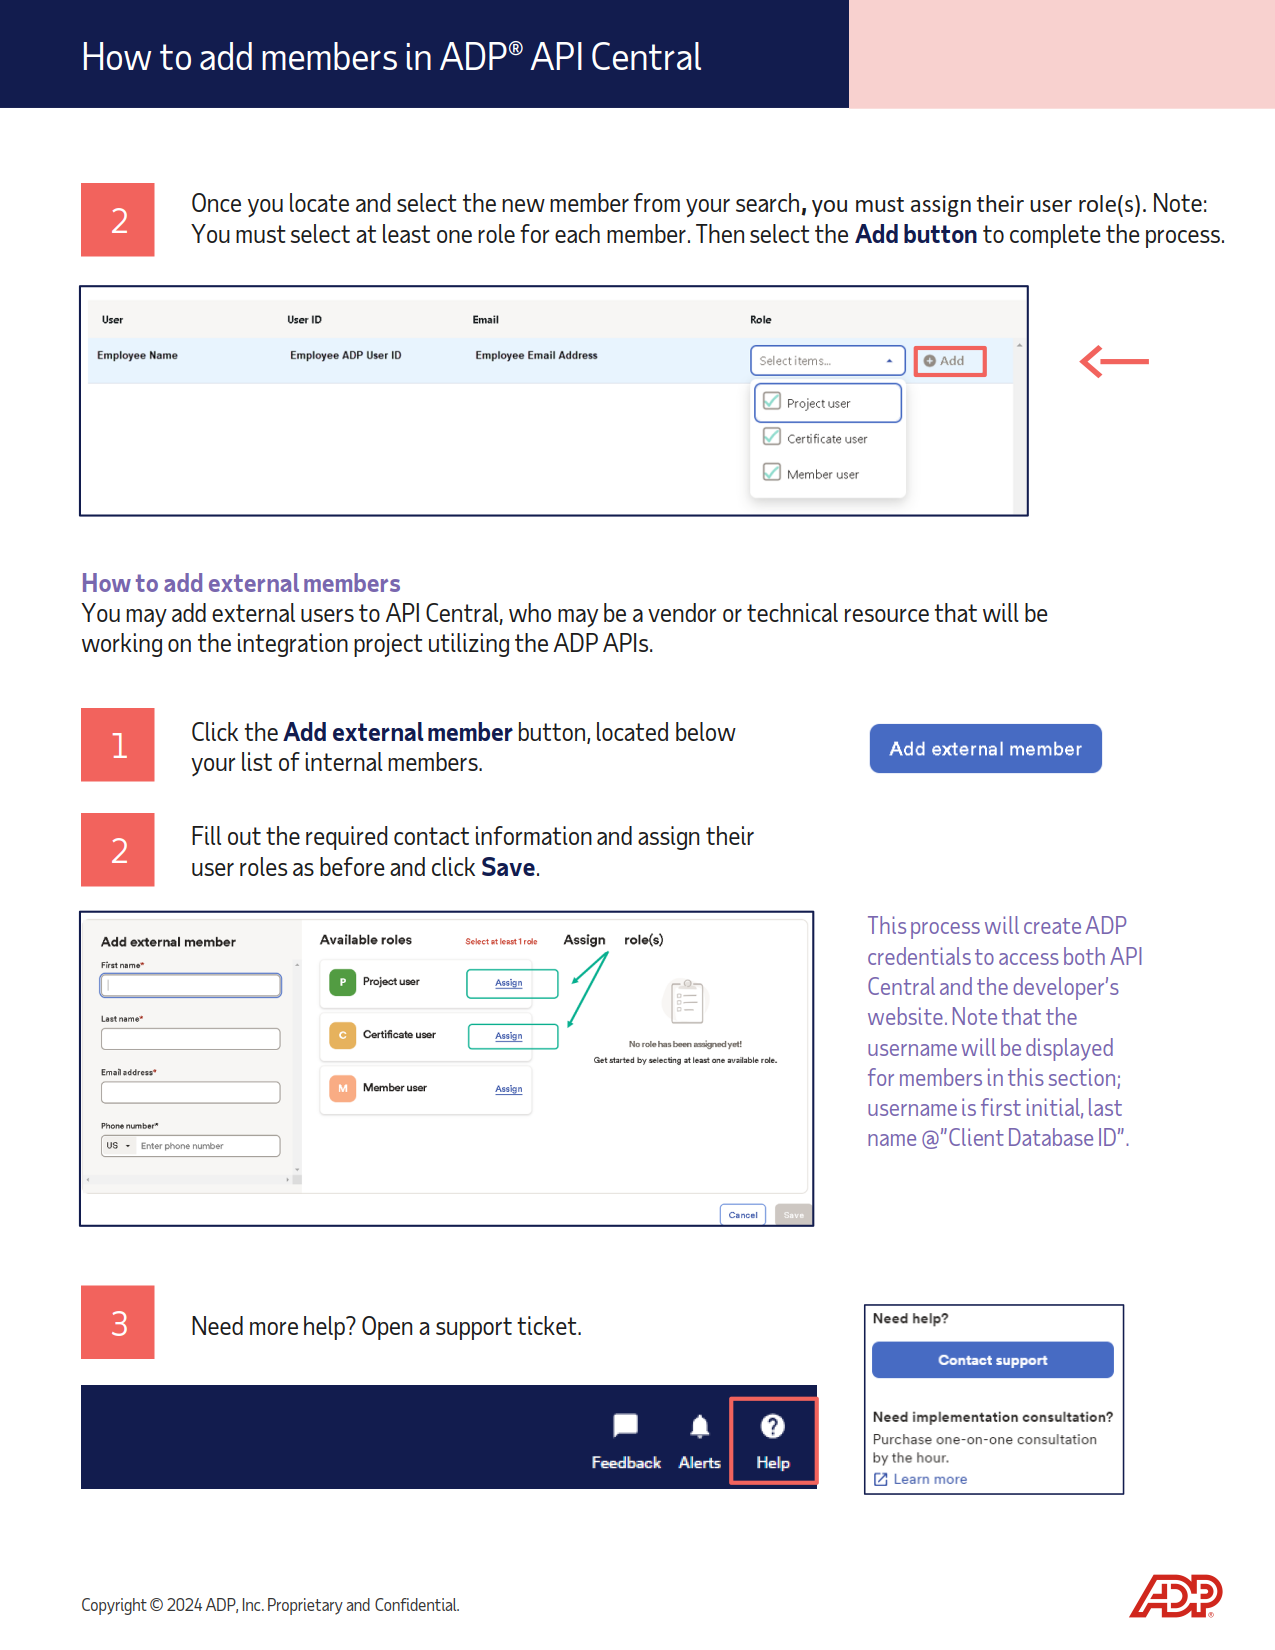
Create an integration member
From the API Central homepage (Members) click on the option to create a new external member
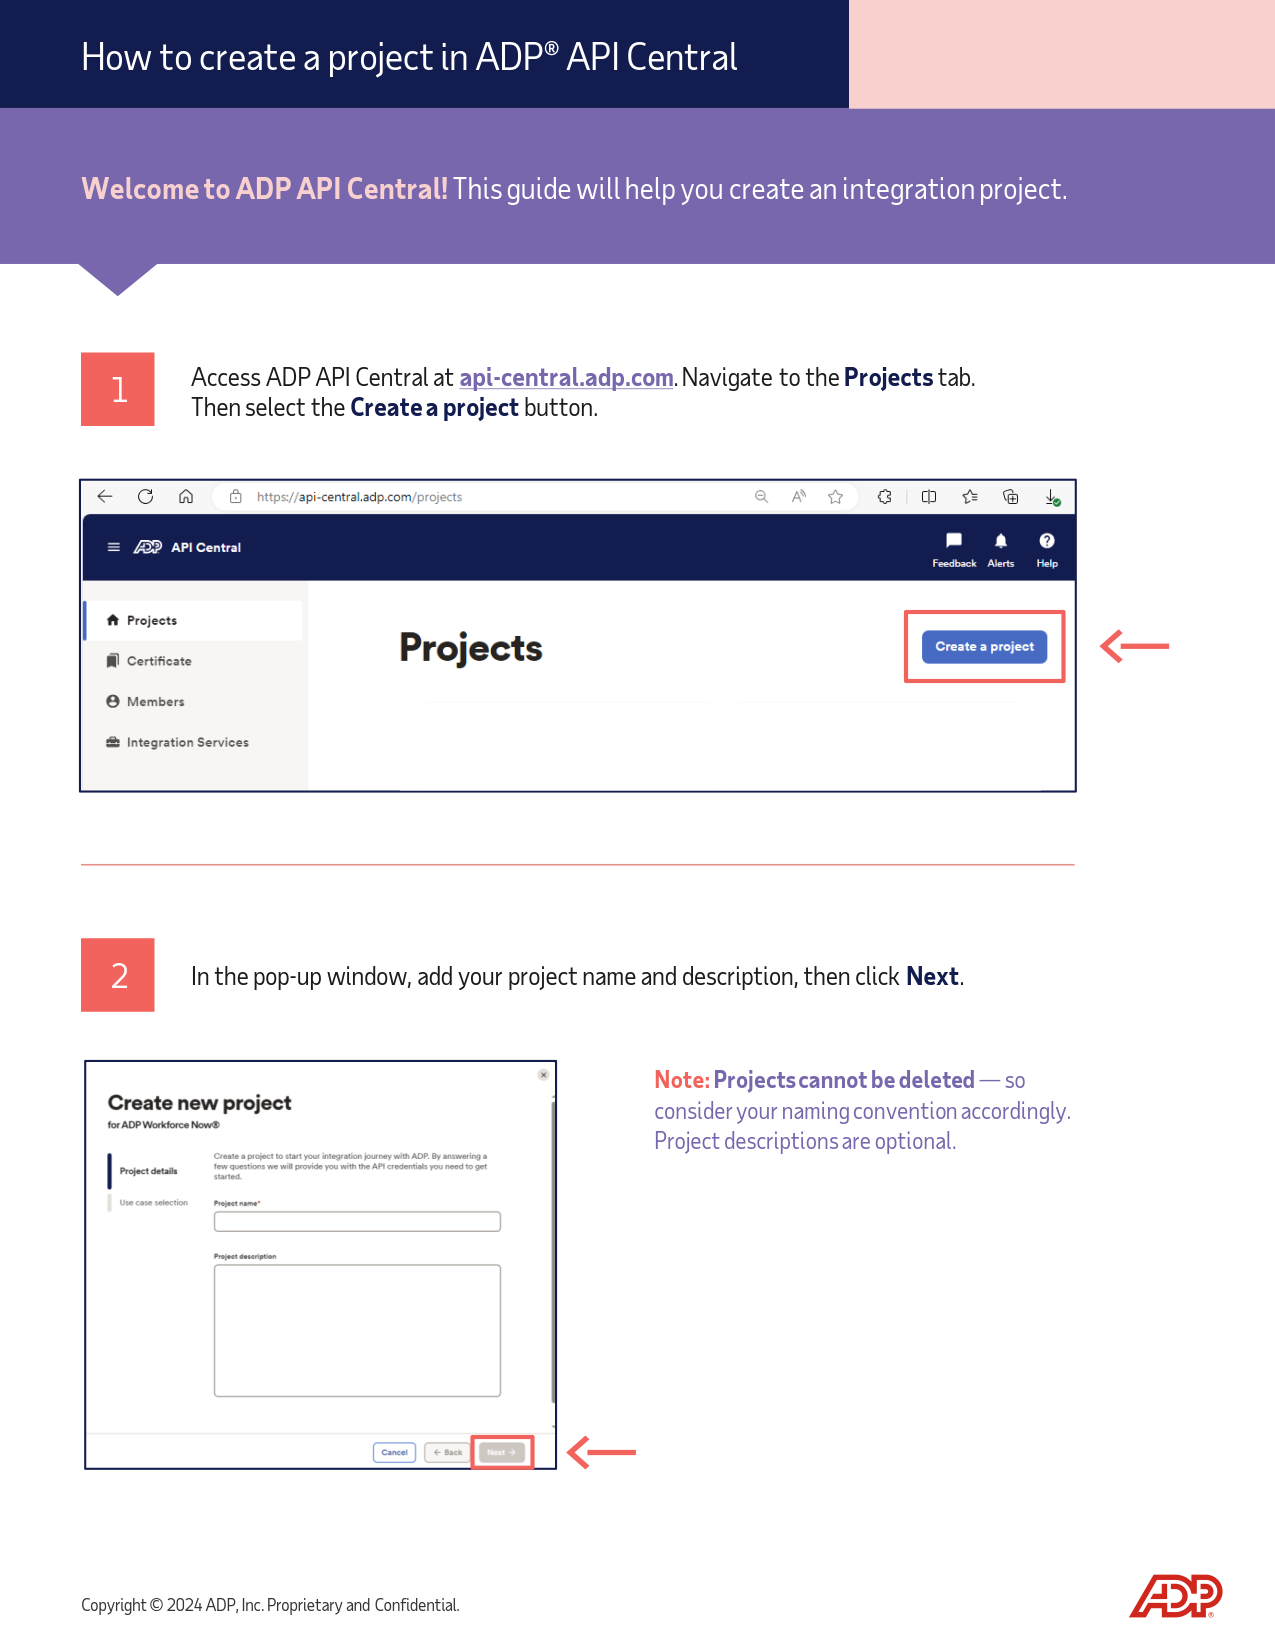
Create a project by following ADP's create a project flow
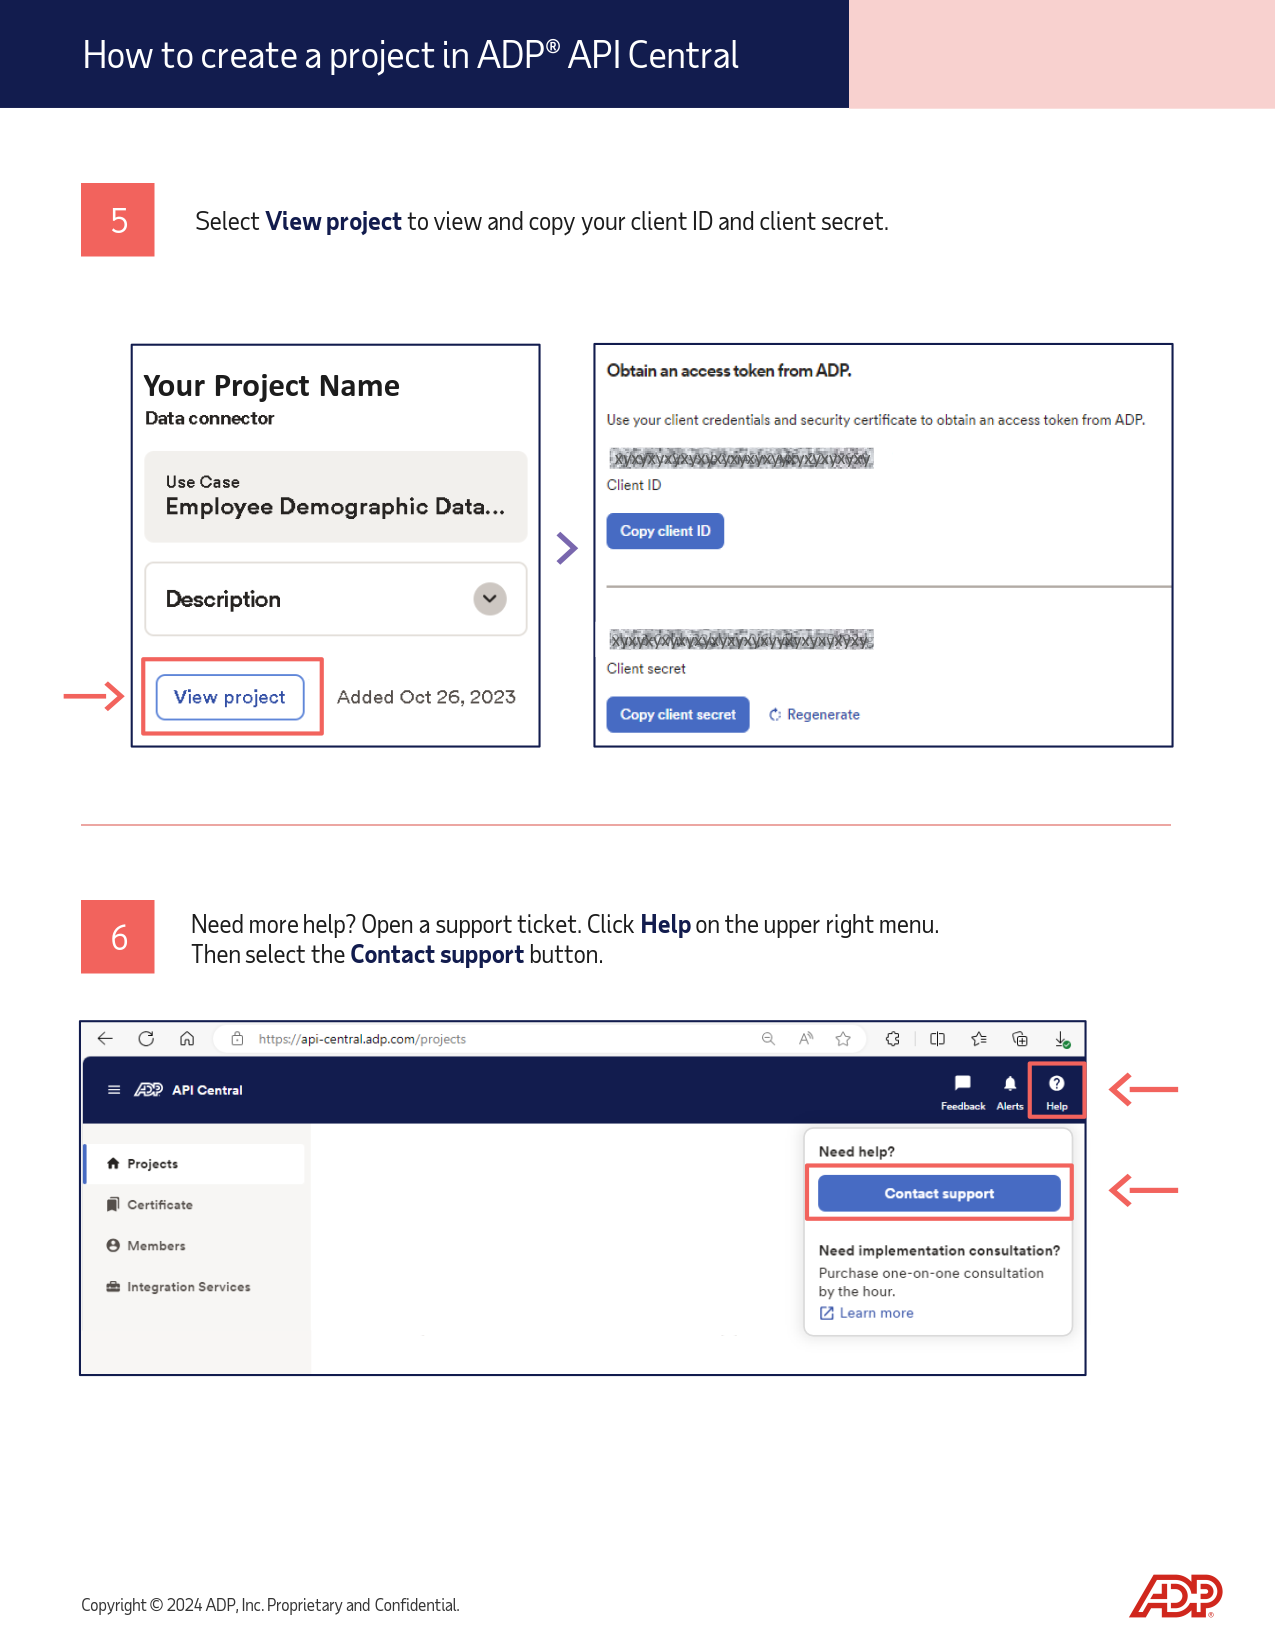
Retrieve the client ID and client secret
Generate a security certificate through ADP's certificate wizard. Note: save the private key. ADP will NOT store or show it again.
Note your certificate expiration. If the certificate expires without being updated in Brilliant the integration will not function correctly.
Connect Brilliant
After we have enabled the ADP automation for your account, your Brilliant team will reach out to let you know you're ready for the final leg of your ADP automation setup. You can now integrate with Brilliant by following the steps below:
Login to Brilliant using your email address and password.
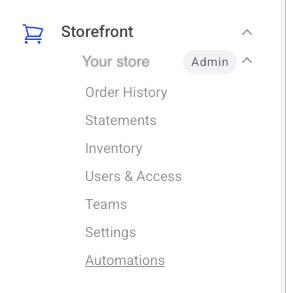
On the lefthand side of the page, navigate to the Automations page of the store you wish to connect the automation to via Storefront -> Your Store to Connect -> Automations.
Find the ADP automation and click "Connect". From here, you will be brought to a new tab where you can provide authentication and configure the automation.