Dayforce Setup
This guide assumes you have already communicated with Brilliant to set up a Dayforce automation for your account.
In order to integrate your Dayforce account with Brilliant, you must first set up your Dayforce instance to expose data to Brilliant via API. After you set up Dayforce, you can connect your Dayforce account to Brilliant to automate gifting for new hires and employee anniversaries.
Creating an Integration System User With Permissions
In order for Brilliant Automations to connect to your dayforce instance, you will need create an Integration System User. To create an user in your Dayforce instance you can follow the steps below.
Log into your Dayforce account as an administrator.
Navigate to System Admin > Users.
Create a dedicated service account
Select the checkboxes for Web Services and Read Data.
Note the username and password of the integration user.
Navigate to the Company tab.
Click on Settings.
Under the General section, you should find the Client Namespace field. Note the Namespace
Connect to Brilliant
After we have enabled the Dayforce automation for your account, your Brilliant team will reach out to let you know you're ready for the final leg of your Workday automation setup. You can now integrate with Brilliant by following the steps below:
Login to Brilliant using your email address and password.
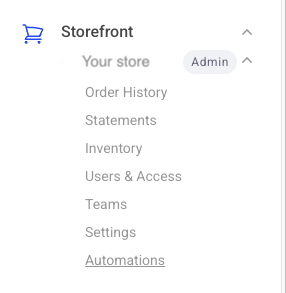
On the lefthand side of the page, navigate to the Automations page of the store you wish to connect the automation to via Storefront -> Your Store to Connect -> Automations.
Find the Dayforce automation you requested from Brilliant and click "Connect". From here, you will be brought to a new tab where you can provide authentication and configure the automation.
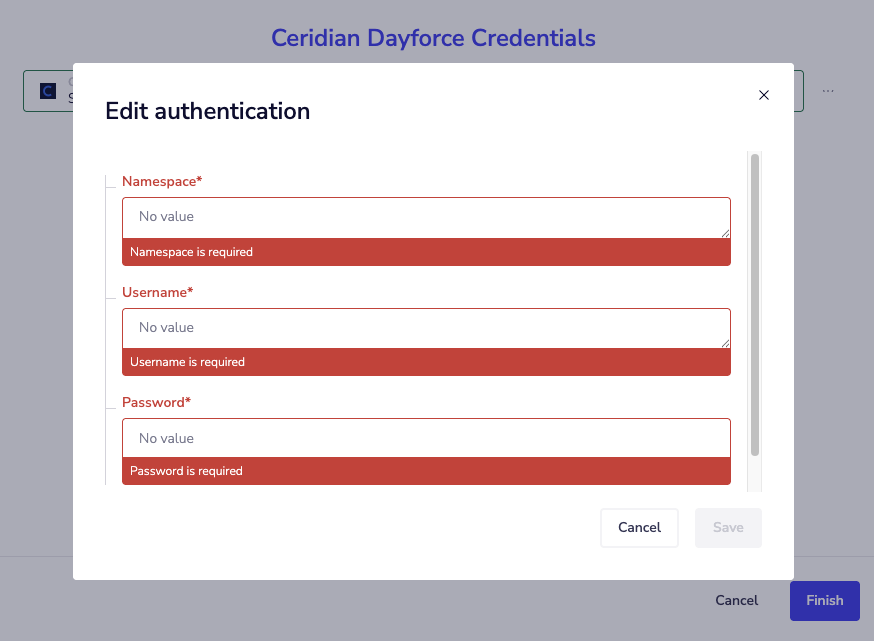
You will be asked for your account information for Dayforce. Please enter your integration system user credentials, including the username, password, and namespace. You can update your credentials through your dashboard by clicking the edit button or reach out to Brilliant for assistance.