Webflow Ecommerce Application Setup
This guide assumes you have already communicated with Brilliant to enable a Webflow Ecommerce integration for your account. You will also need Brilliant to set up a single store which will contain all of the products you wish to fulfill from your Webflow store.
As part of the integration process, you must first set up the products in your Webflow Ecommerce site to follow certain guidelines to be compatible with Brilliant. After you set up the Webflow products, you can then connect your Webflow site to Brilliant to fulfill your Webflow orders.
Webflow Setup
In your Webflow Ecommerce store, you will need to import Brilliant-compatible products, configure the customer information you collect, find your site ID, and generate a site API token.
Webflow Products Import
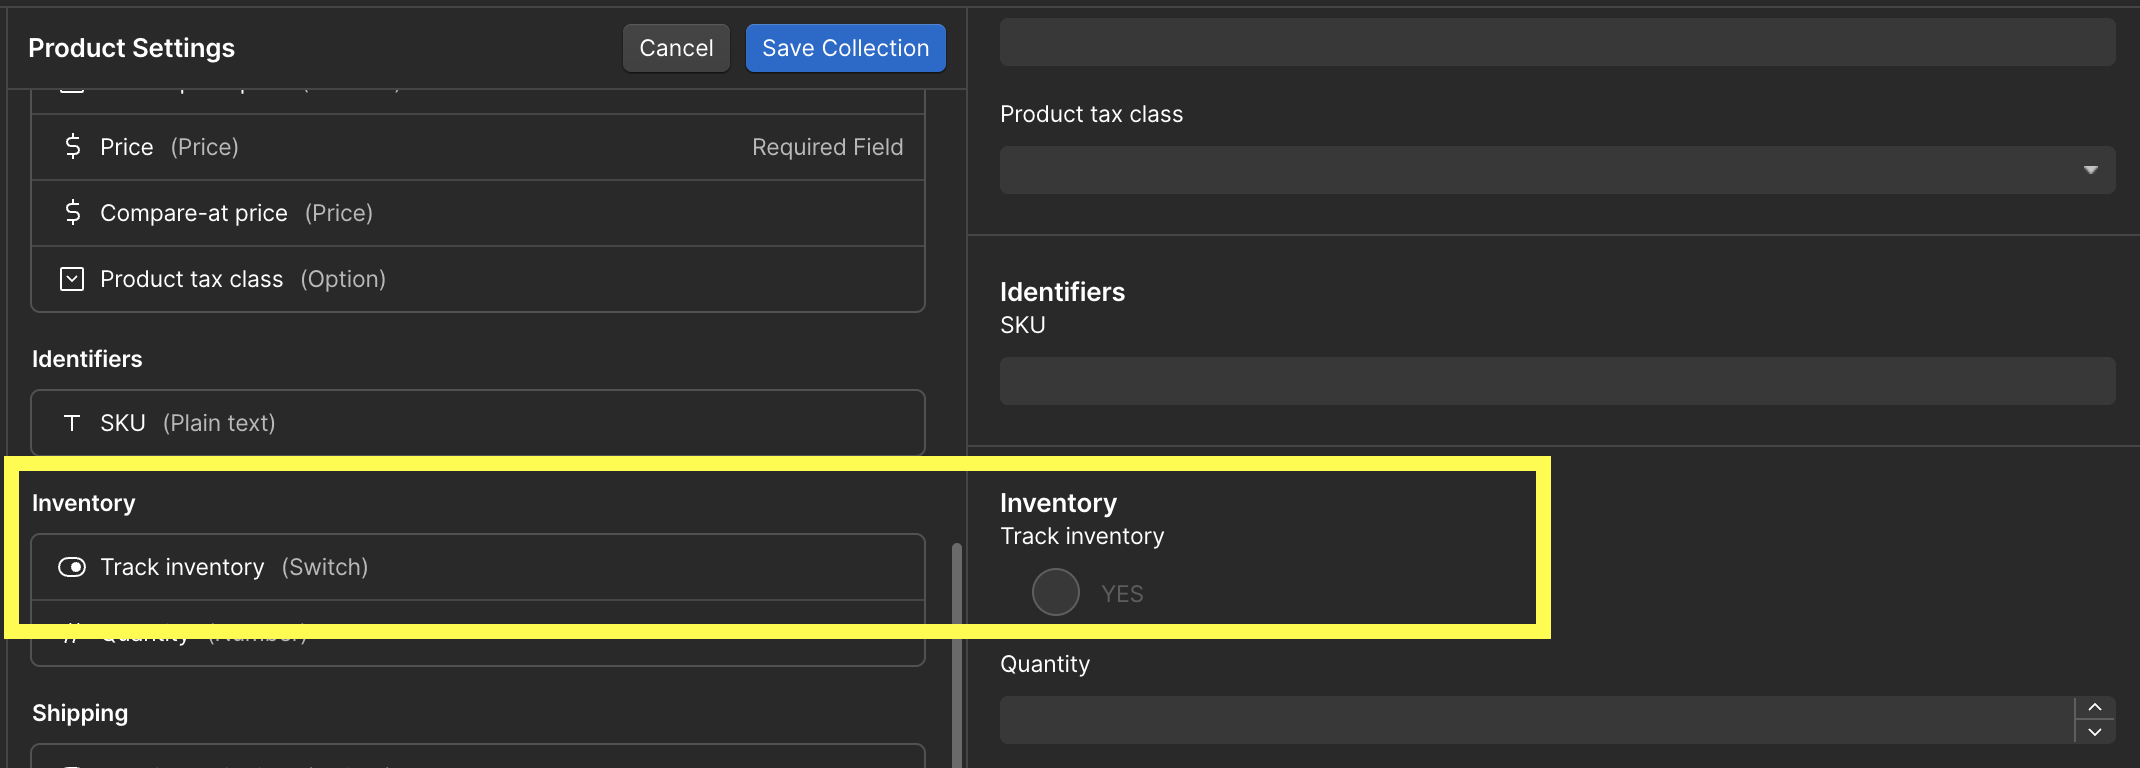
Please note that this guide assumes your Webflow Ecommerce store does not contain any existing products. If your Webflow store already has one or more products, you will need to manually set the SKUs for each product/variant. You will also need to ensure that each product/variant has the Track Inventory toggle enabled in your Products Settings page.
In order for Brilliant to keep track of order data with Webflow, there needs to be a common identifier between the products in Brilliant's system and the products in your Webflow Ecommerce store. To satisfy this requirement, Brilliant will send you a CSV file containing each product and variant in your store along with a specific SKU number. The SKU numbers are what Brilliant will use to map Brilliant products to Webflow products, and will serve as the source of truth between the two systems. Once you get this CSV, please follow these steps to import the products:
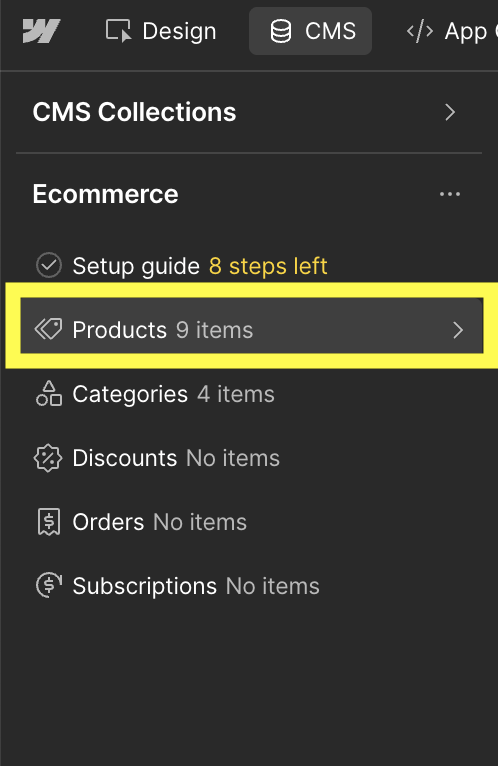
On the designer page of your Ecommerce site, go to the CMS tab on the top of the page.

If your site is not yet Ecommerce enabled, you may be notified that a Products and a Categories collection will be created for you. Accept this notification to continue.
On the menu that appears on the left side of the page, click on the Products collection. Please note that all products in your Ecommerce store must reside in this collection for the Brilliant integration to work properly.
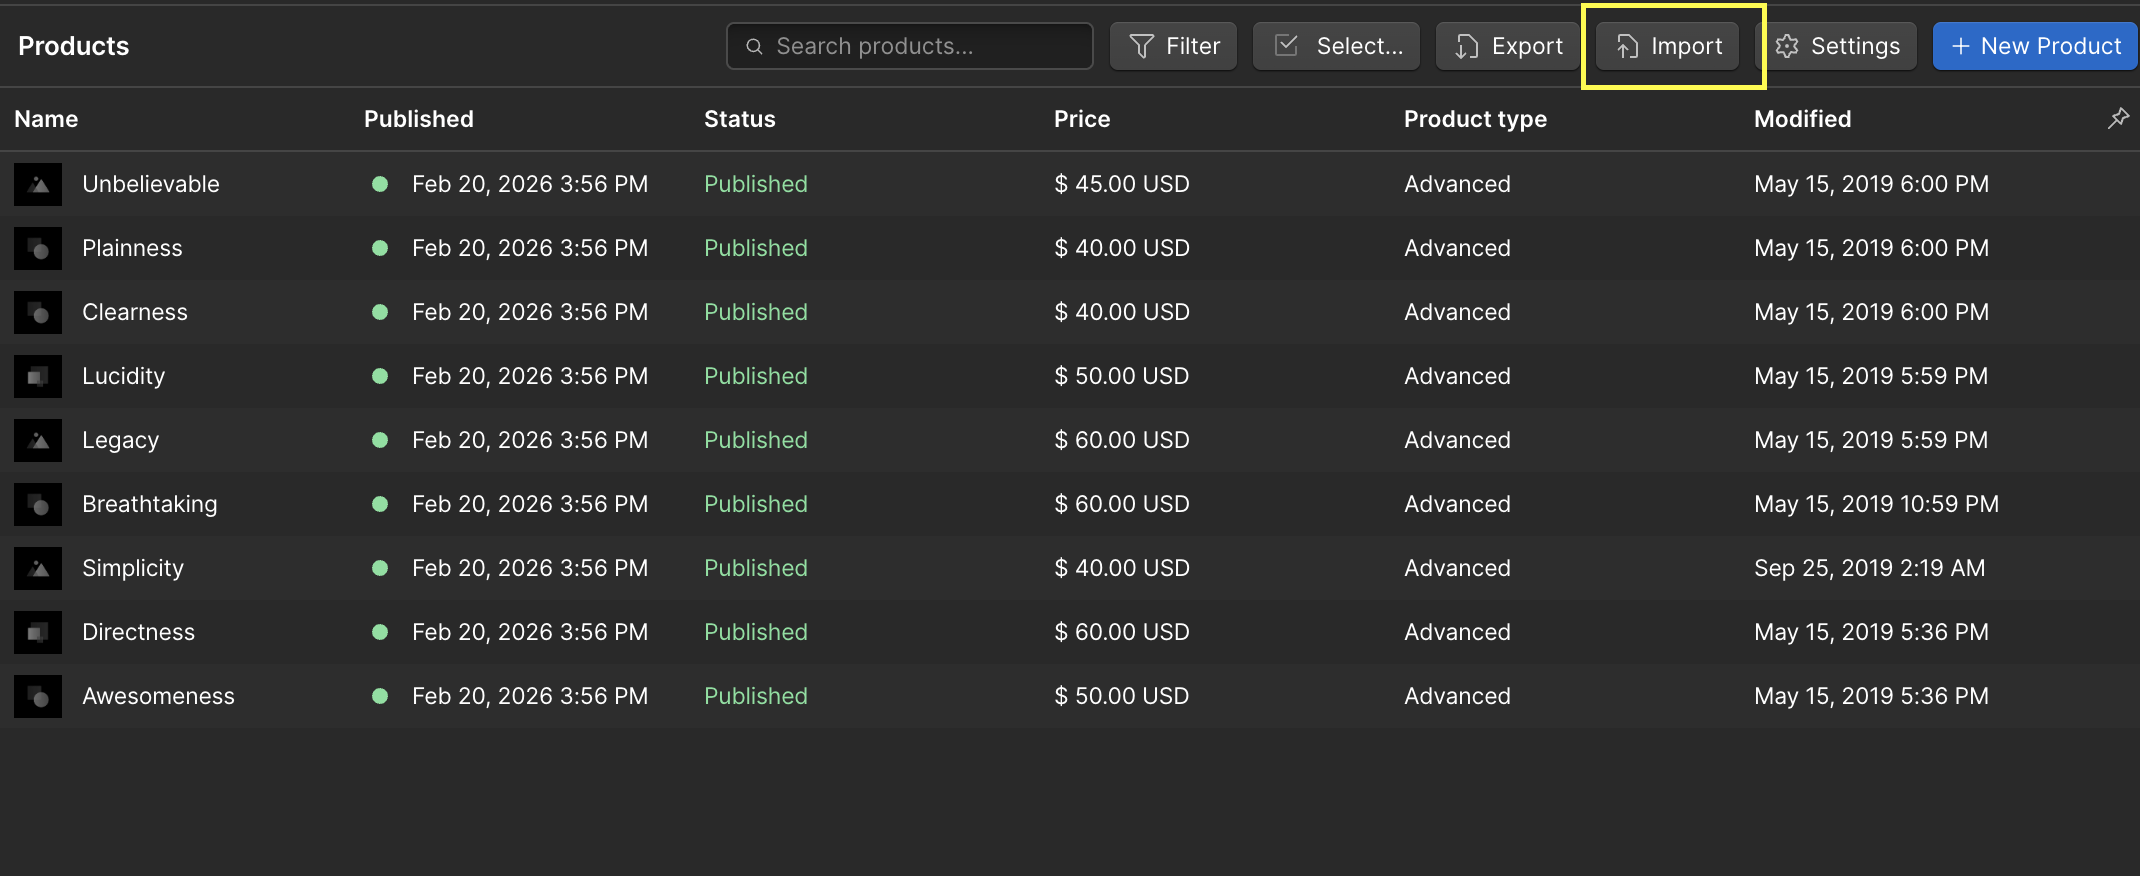
On the top menu bar in the Products collection, click Import.
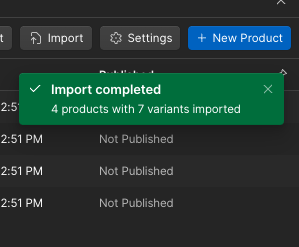
Drag in or select the Products CSV you received from Brilliant, then click Import products. After clicking import, Webflow will take some time to import all of the products in the background. After the import job is finished, a notification will appear explaining the status of the import. Please make sure that the import was successful, and that no errors occurred during import.
Upon successfully importing the products into your store, you can click on any of the products to make edits to their fields, such as their description or image. However, please do not edit any products' SKU fields, as the correct SKUs are required for the Brilliant integration to work properly. Please also keep the Track Inventory toggle enabled for each product/variant.
Customer Information
Brilliant must have certain information from each customer in order to successfully process an order. Please ensure that all of the following fields are collected from your customers during the checkout process, and that these fields are all marked as required:
First Name
Last Name
Email
Shipping Address
Phone Number (phone numbers required for international orders)
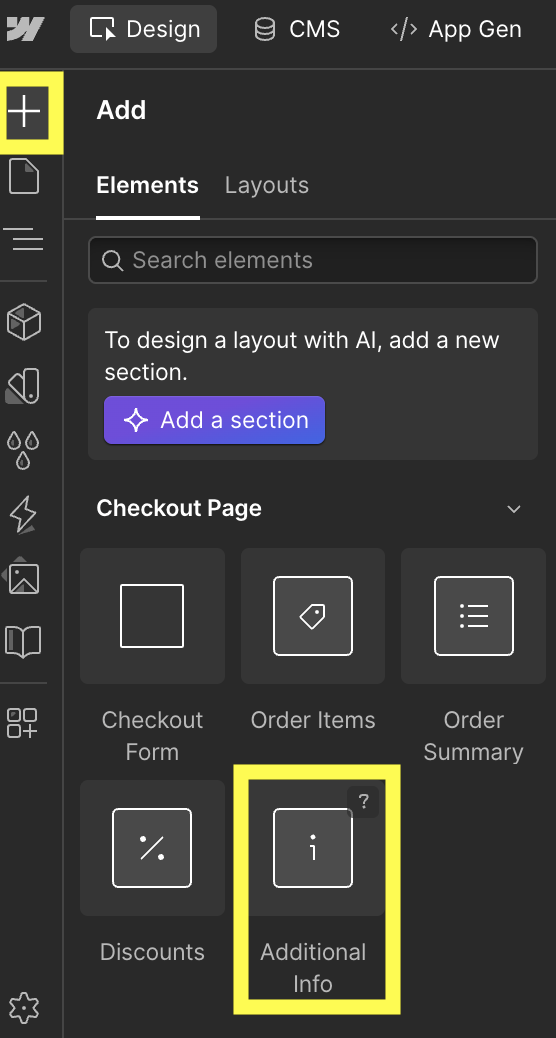
You can add a field on your checkout page by clicking the + sign in the left sidebar and then selecting Additional Info.
Site ID
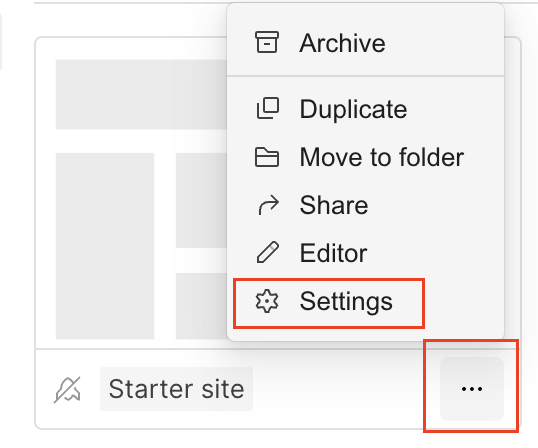
Back on your Webflow Dashboard, click the More Options (three dots) icon on your Ecommerce site, and then click Settings.
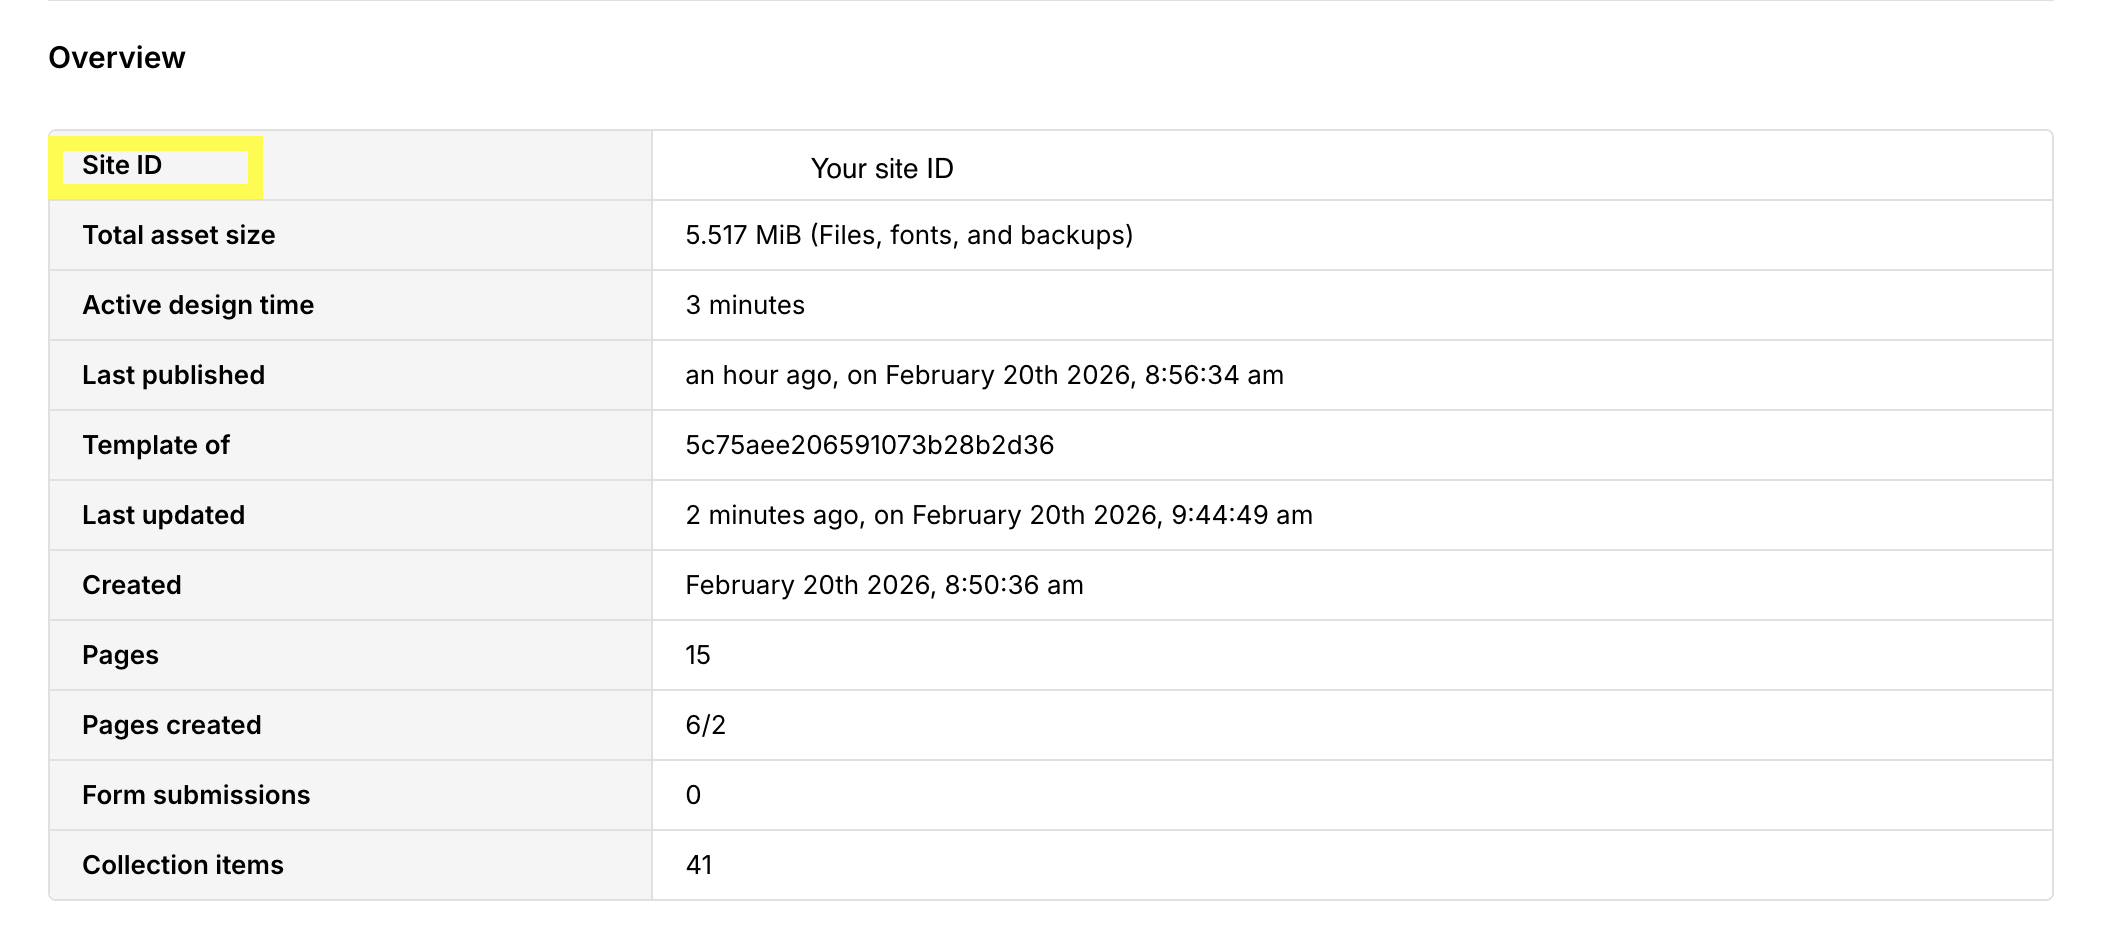
On the General tab, scroll down until you get to the Overview section. Then take note of the Site ID. This ID will be used later in the integration connection process.
Generate API Token
You will need to generate an API token with the proper permissions in order to allow access to your products and orders through the integration.
On your Webflow Dashboard, click the More Options (three dots) icon on your Ecommerce site, and then click Settings.
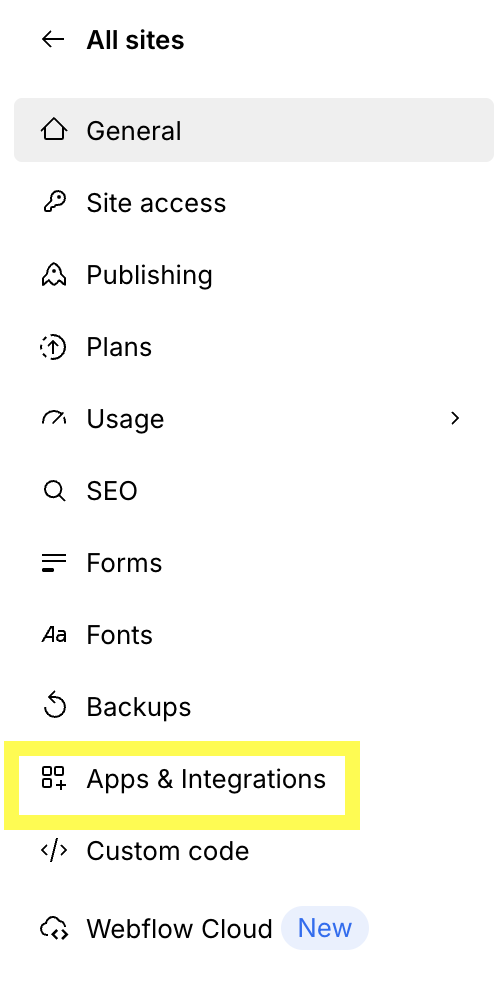
Click on the Apps & Integrations tab, then scroll down to the API Access section.
Click Generate API Token.

Give the token a name (e.g. Brilliant Ecommerce Integration), then under the Permissions section, select and Read and Write for Ecommerce and Read-Only for CMS.

Click Generate Token.
Copy the generated token to a safe place. After closing the window, you will no longer be able to view the token from Webflow.
Connect Brilliant
The Brilliant x Webflow integration will need to be customized for your store. After Brilliant is done customizing the integration, you can follow these steps to connect it.
After you have followed the Webflow setup steps above, you are ready to integrate with Brilliant by following the steps below:
Login to Brilliant using your email address and password.
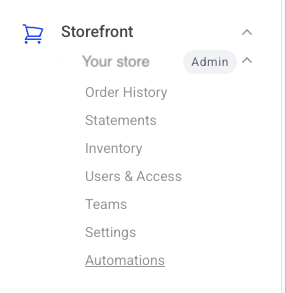
On the lefthand side of the page, navigate to the Automations page of the store you wish to connect the automation to via Storefront -> Your Store to Connect -> Automations.
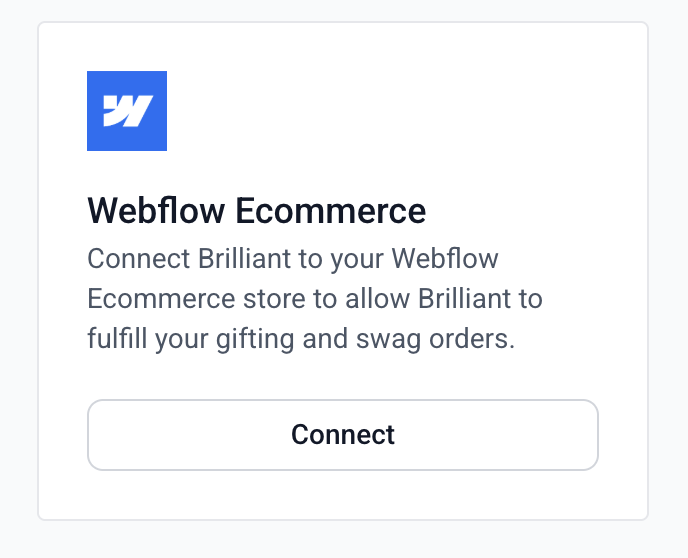
Find the Webflow Ecommerce integration and click Connect. From here, you will be brought to a new tab where you can provide authentication and configure the integration. After you connect an edit button will be present next to the connect button if you need to update your configuration after connecting.
You will be asked for your account information for both Brilliant and Webflow.
For Brilliant, the account will be added for you, so you can skip to adding your Webflow information.
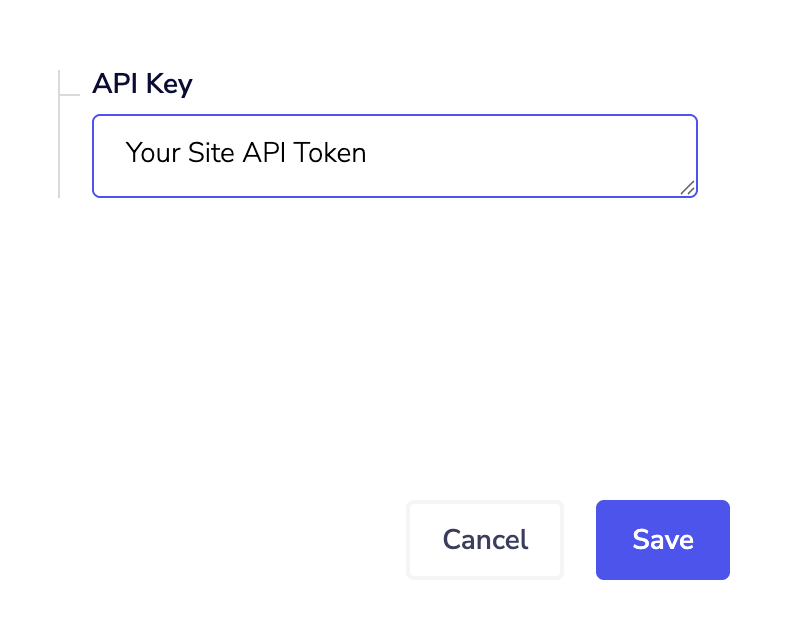
For Webflow, you will need to provide the API token you generated.
In the Site ID field, provide your Site ID gathered earlier in the Site ID section of this page.
For the Store User ID field, when you select which Brilliant User you'd like to associate with the order Brilliant will provide the ID.
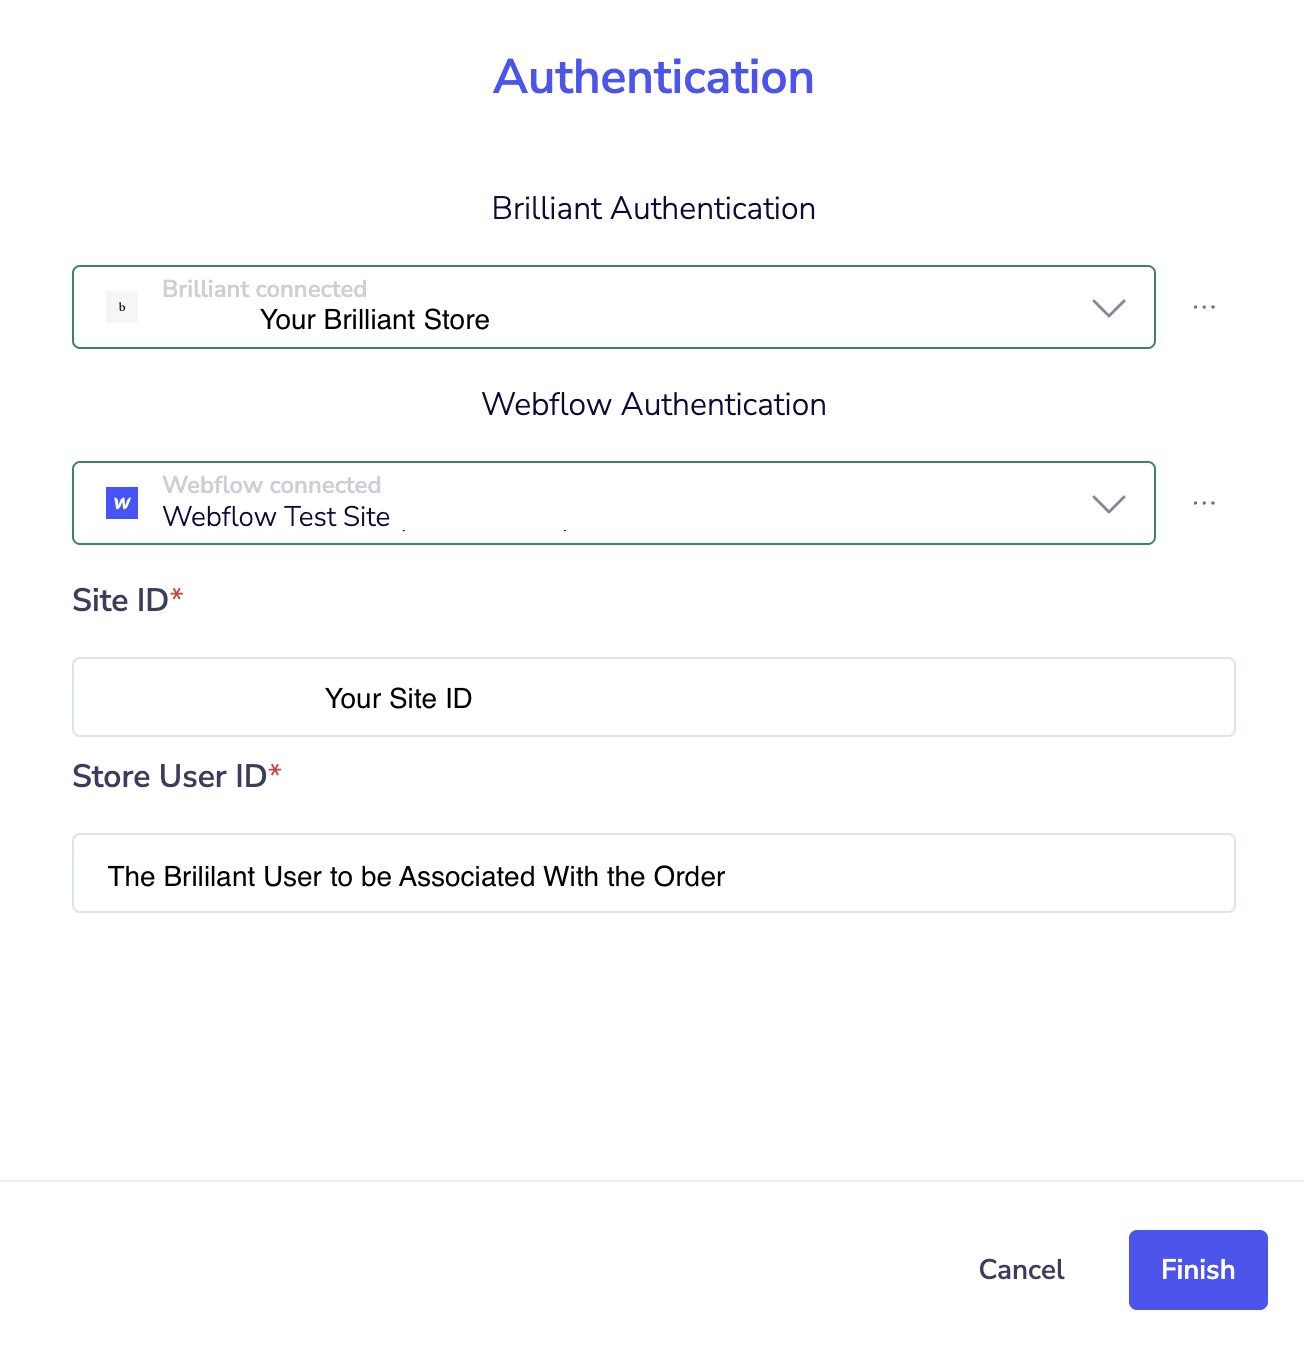
Click Finish.
Final Steps
Before accepting official orders into your Webflow store, the integration will need to be tested to ensure all order fields are synced. Please place a test order in your Webflow store, then wait for Brilliant to get back to you with a confirmation that the sync is working properly or next steps if necessary.
After the test is complete, your Webflow Ecommerce integration is finished! Now, orders placed in your Webflow store will be transferred over to Brilliant to be fulfilled, and inventory and fulfillment updates will be synced back into your Webflow store.